

How To Waterproof A Hat With Otter Wax
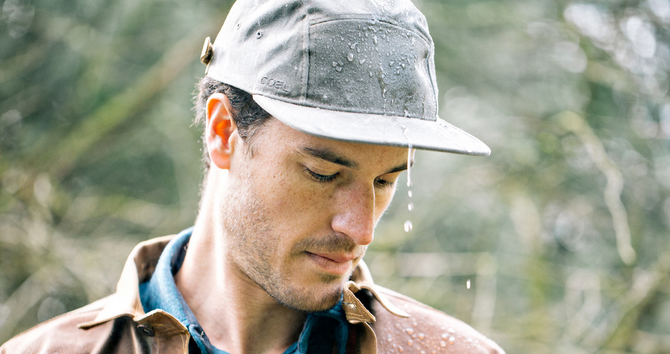
Of all the different projects to choose from, using Otter Wax to waterproof a hat might be one of the quickest, easiest, and most rewarding. The process is pretty straightforward in that you're just rubbing wax onto the surface of the hat and then letting it cure, however the shape of a hat can present some unique challenges. The goal of this step-by-step guide is to provide you with some tips and strategies for achieving the fantastic look of waxed canvas paired with the function and utility of a waterproof seal.
What you'll need:
-
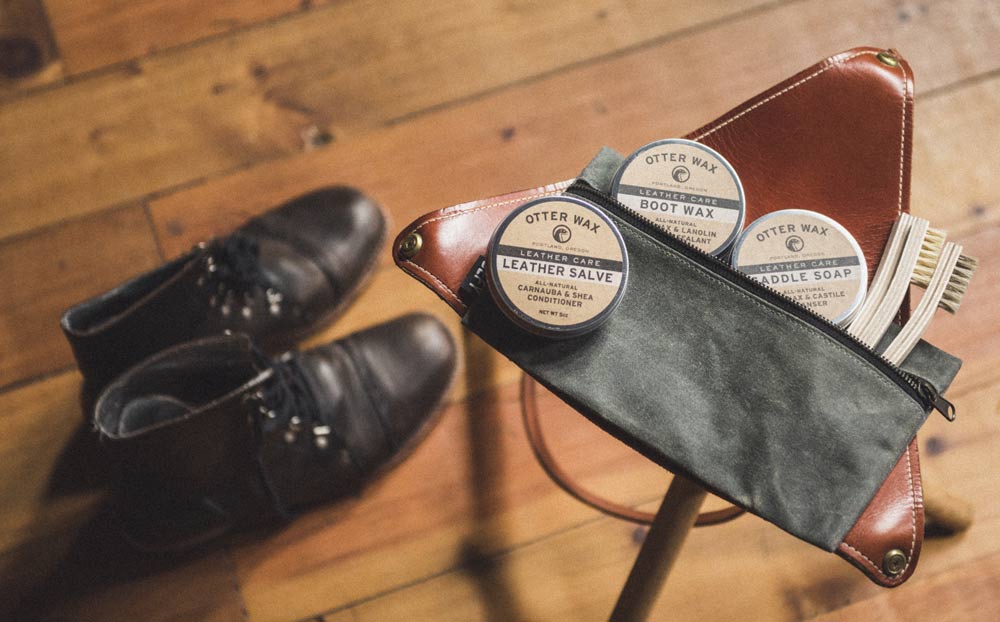
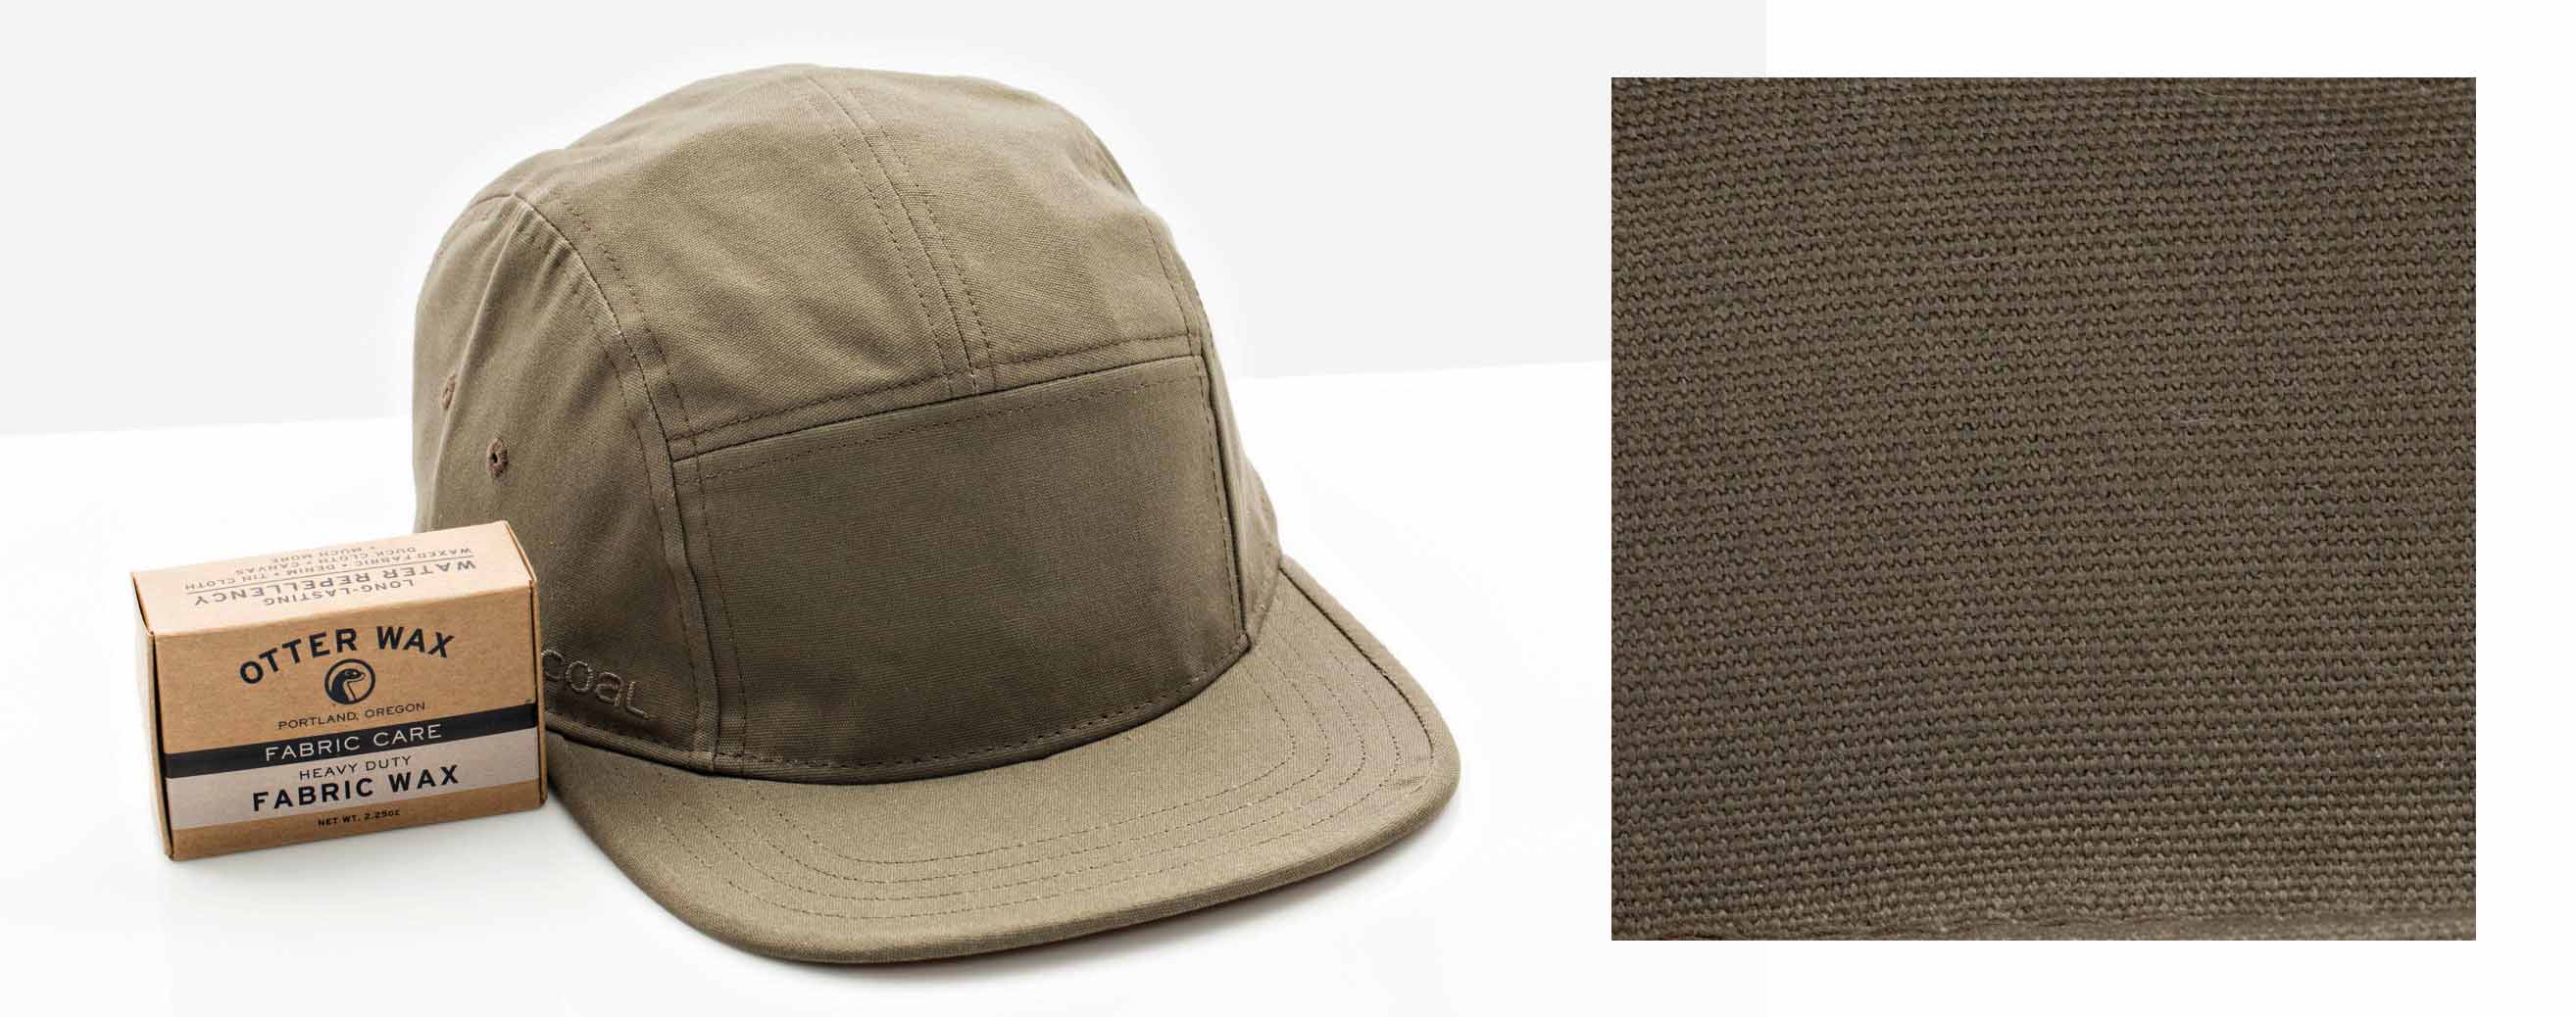
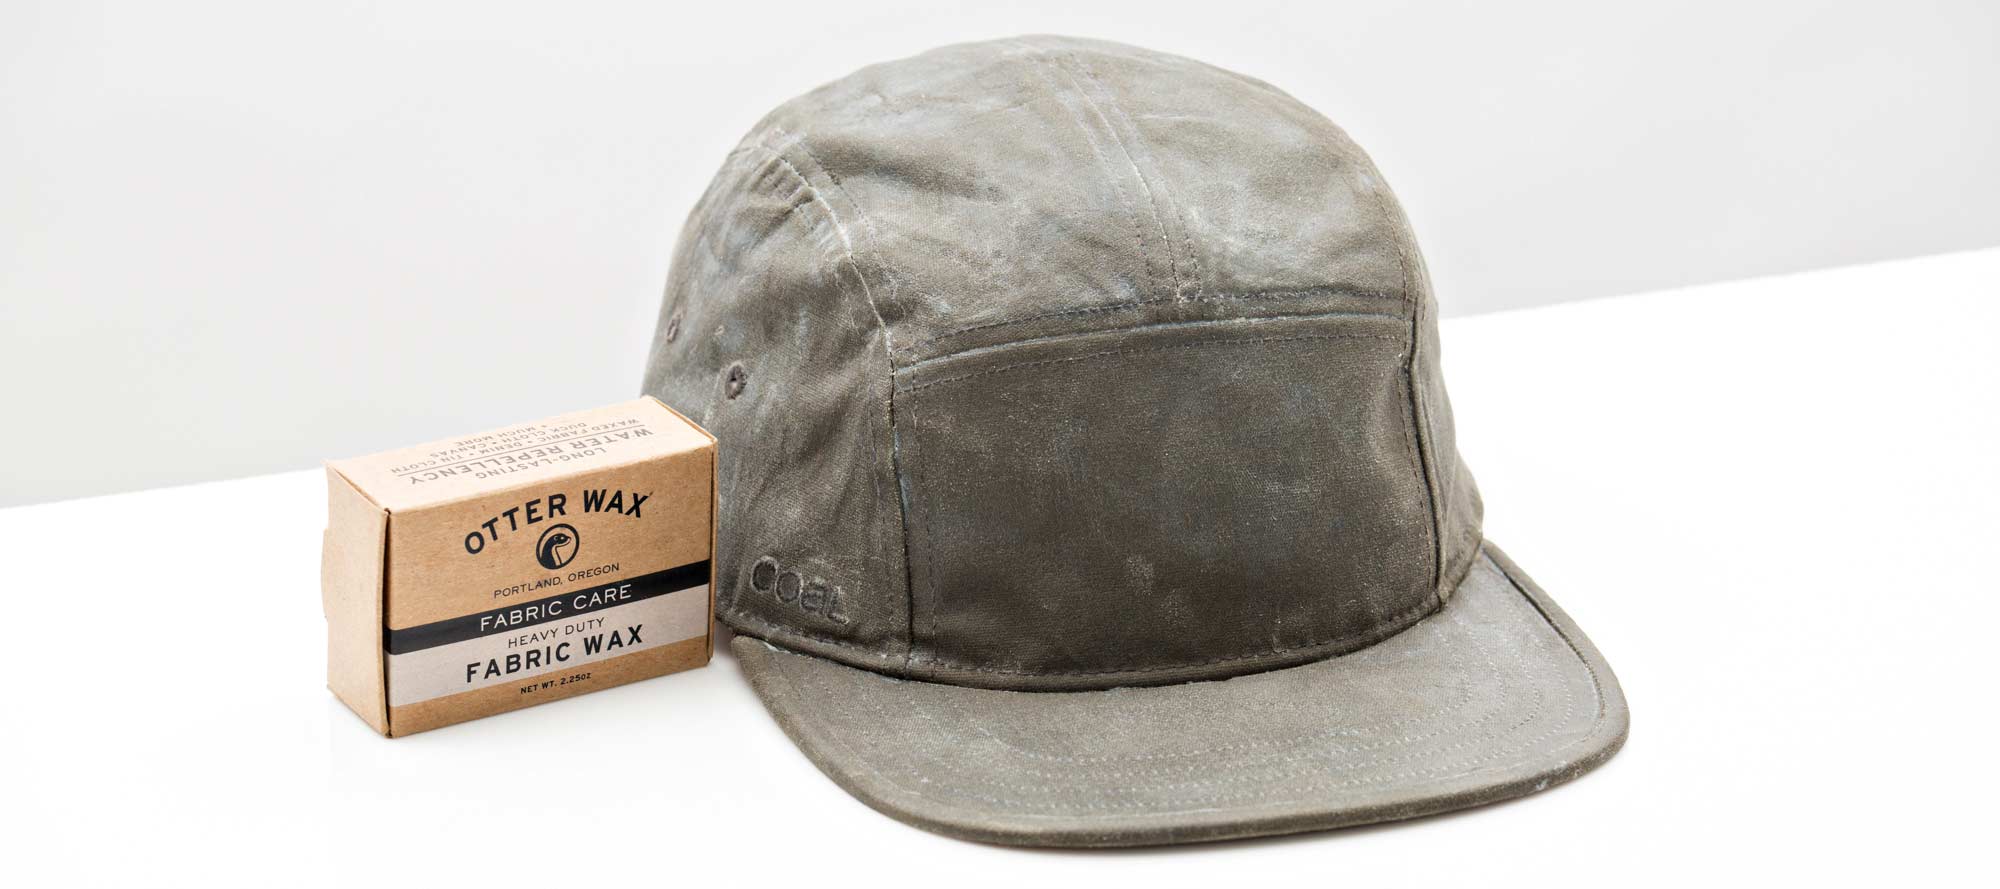
Otter Wax Regular Bar (1x)
-
Cotton or Poly-Blend Hat (1x)
-
45~60 Minutes
The first thing you're going to want to do is check the manufacturers label to learn what fabric your hat is made from. 100% Cotton is best, and a 60/40 Cotton/Poly Blend will also work well. Our wax bonds best with natural fibers, so you'll probably experience some wax pilling or rejection if the hat is constructed from a fabric where a synthetic material comprises all or a majority of the fabric.
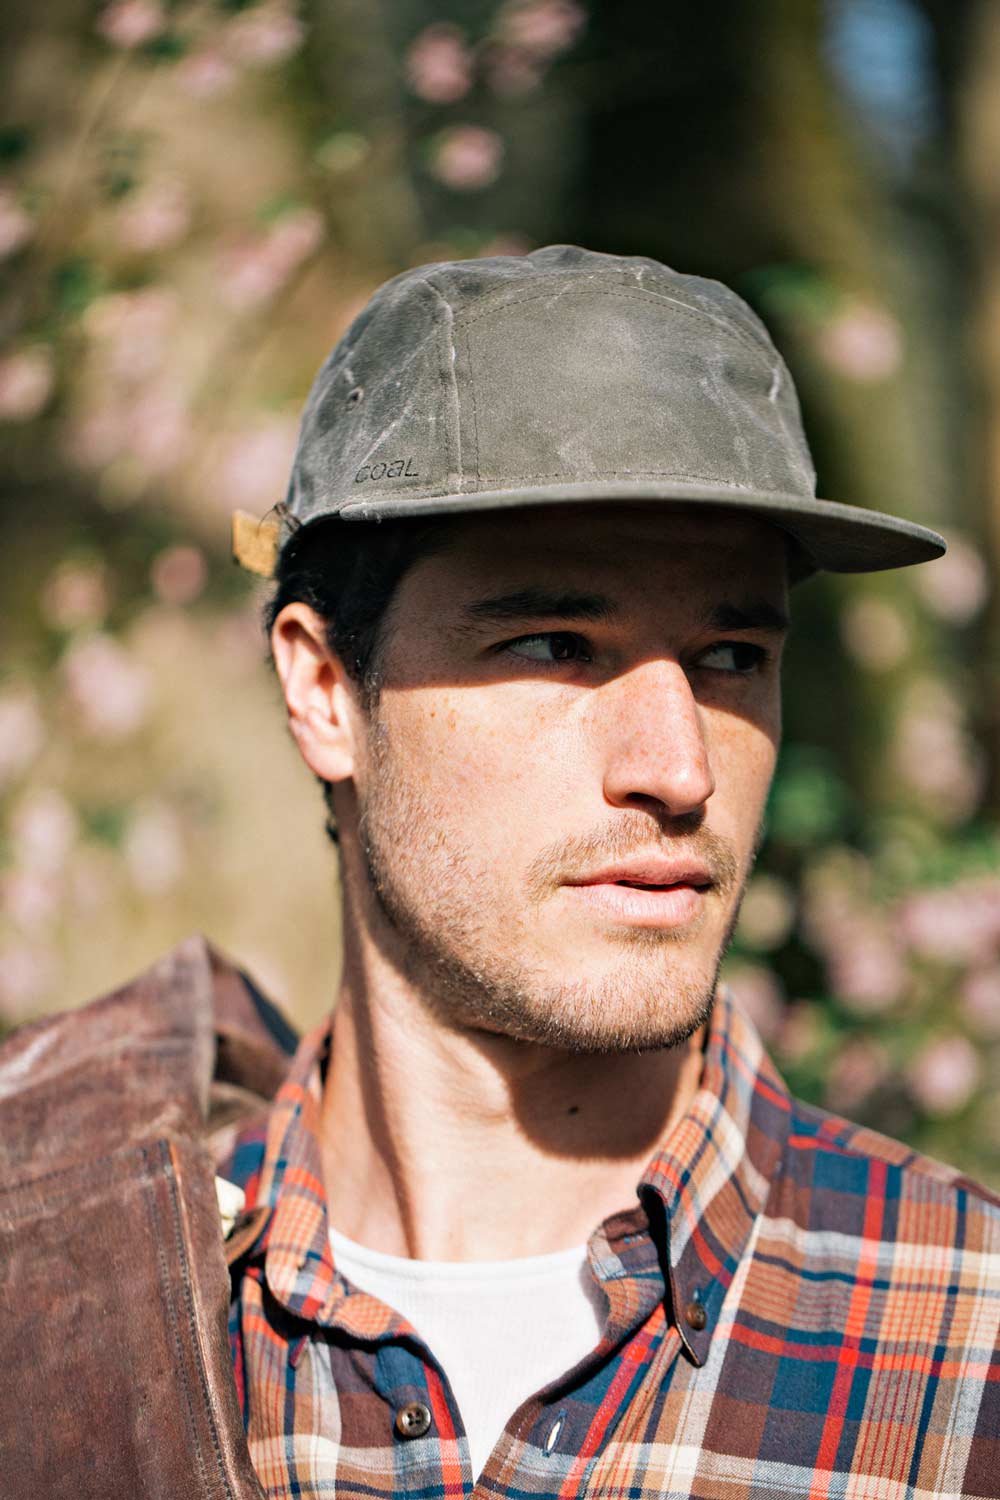
The hat we're using for this project is from our collaboration with Coal Headwear, the Otter Wax Richmond SE. The hat is your standard 5-panel camp hat with a leather strapback and is 100% Cotton, making it perfect for waxing. The canvas itself is relatively light-weight with a pretty tight weave. This means that it will require less wax than a heavier canvas, but also might require more frequent touch-ups to maintain the waterproofing capabilities.
We're using the Richmond SE, but keep in mind that you can do this with virtually any hat, old or new. Just make sure that before waxing the canvas is free of any dirt, dust, or debris that may get sealed in when the wax is applied. You might need to give it a wash, but usually a lint roller will do the trick.
Ready. Set. Let's Wax.
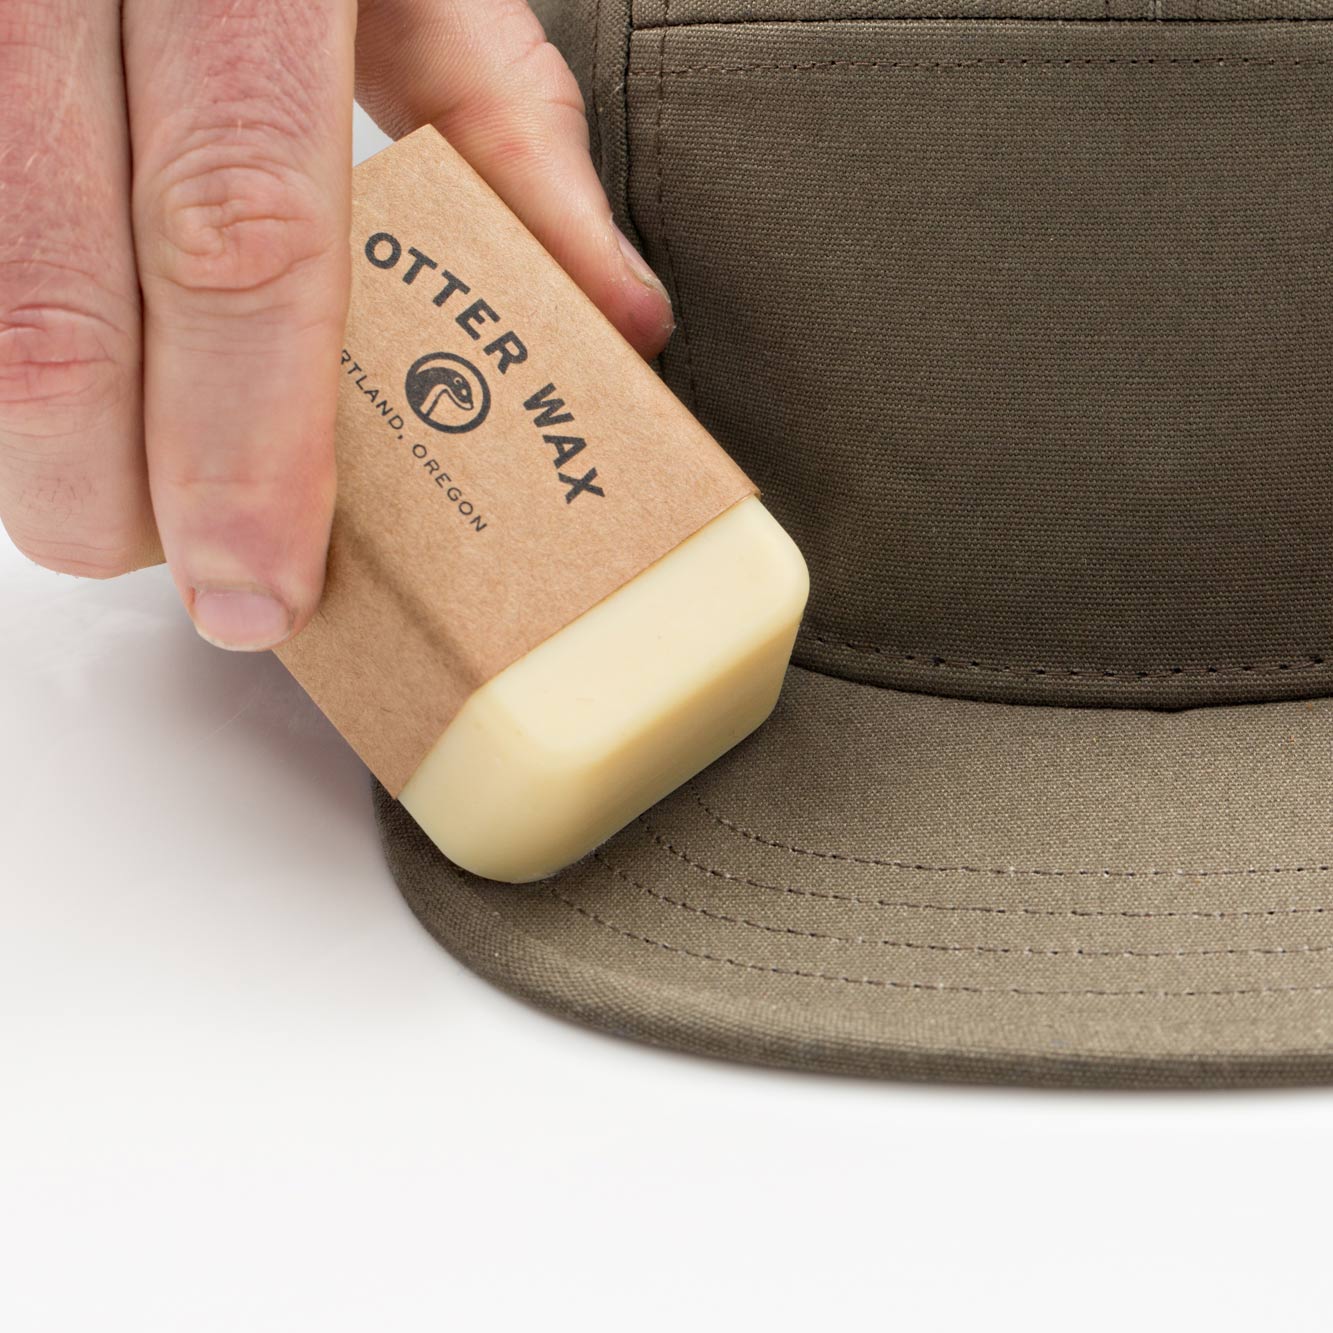
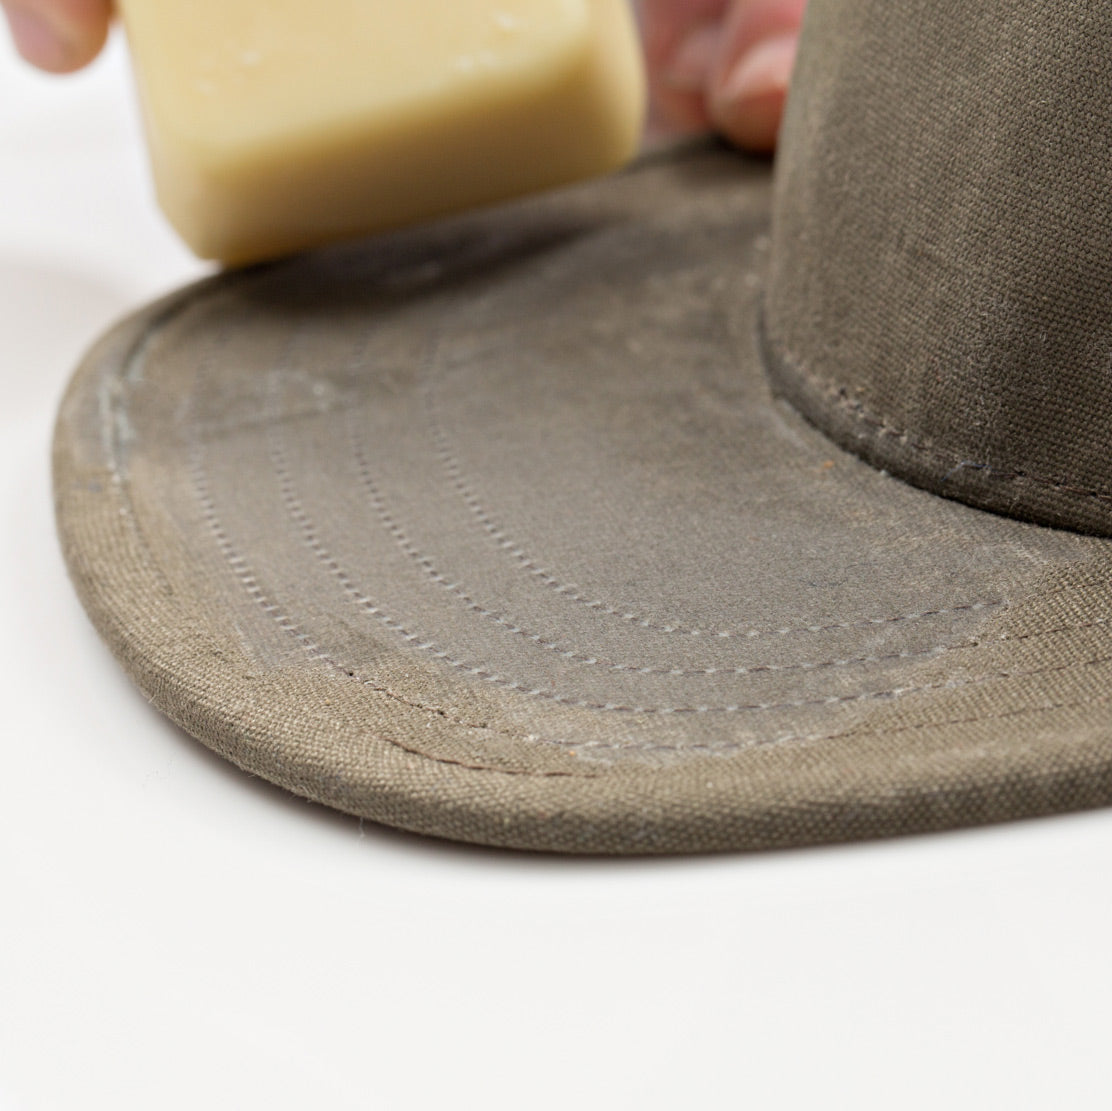
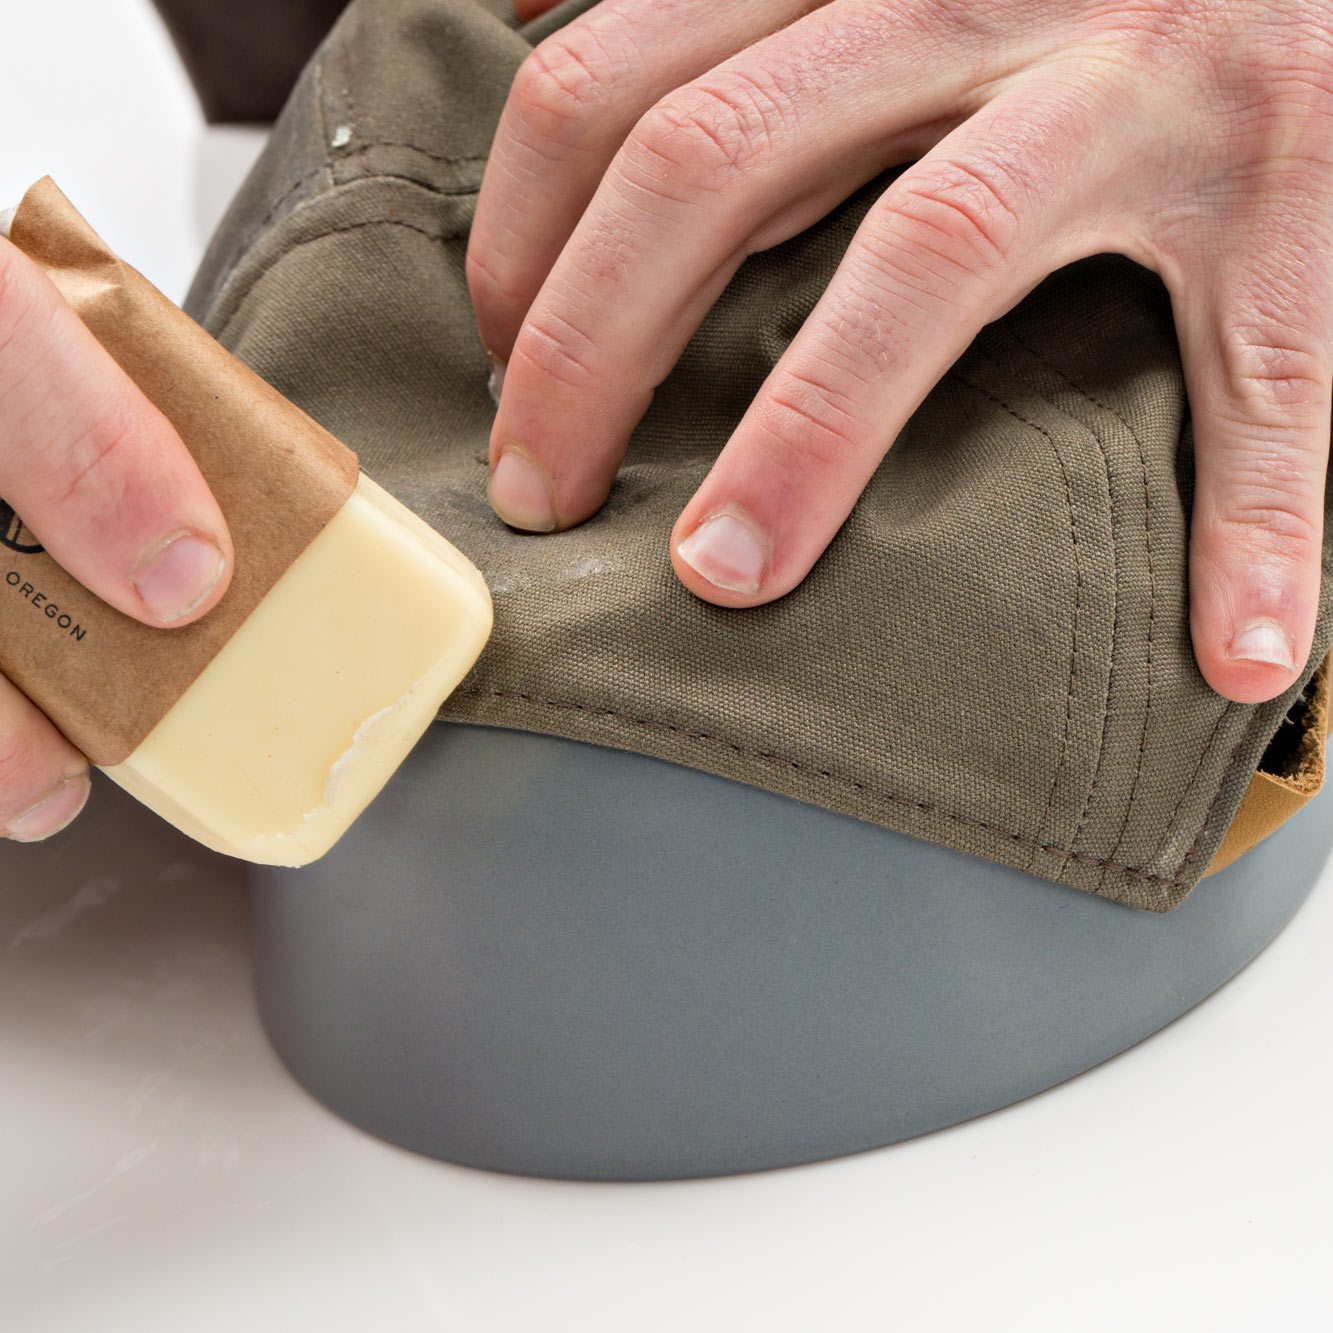
Step 1:Start with the bill of your hat. This will be the easiest part to wax and will help give you a good idea for how the fabric will look once it's been treated. Use some elbow grease to apply pressure and rub the bar back and forth to create a little friction heat. |
 |
Step 2:You're getting there, but if the fabric looks like this, you've still got some work to do. You can see how it's a little splotchy, but what we want is a uniform appearance. Apply some more pressure and create friction to really help work the wax into the fabric. |
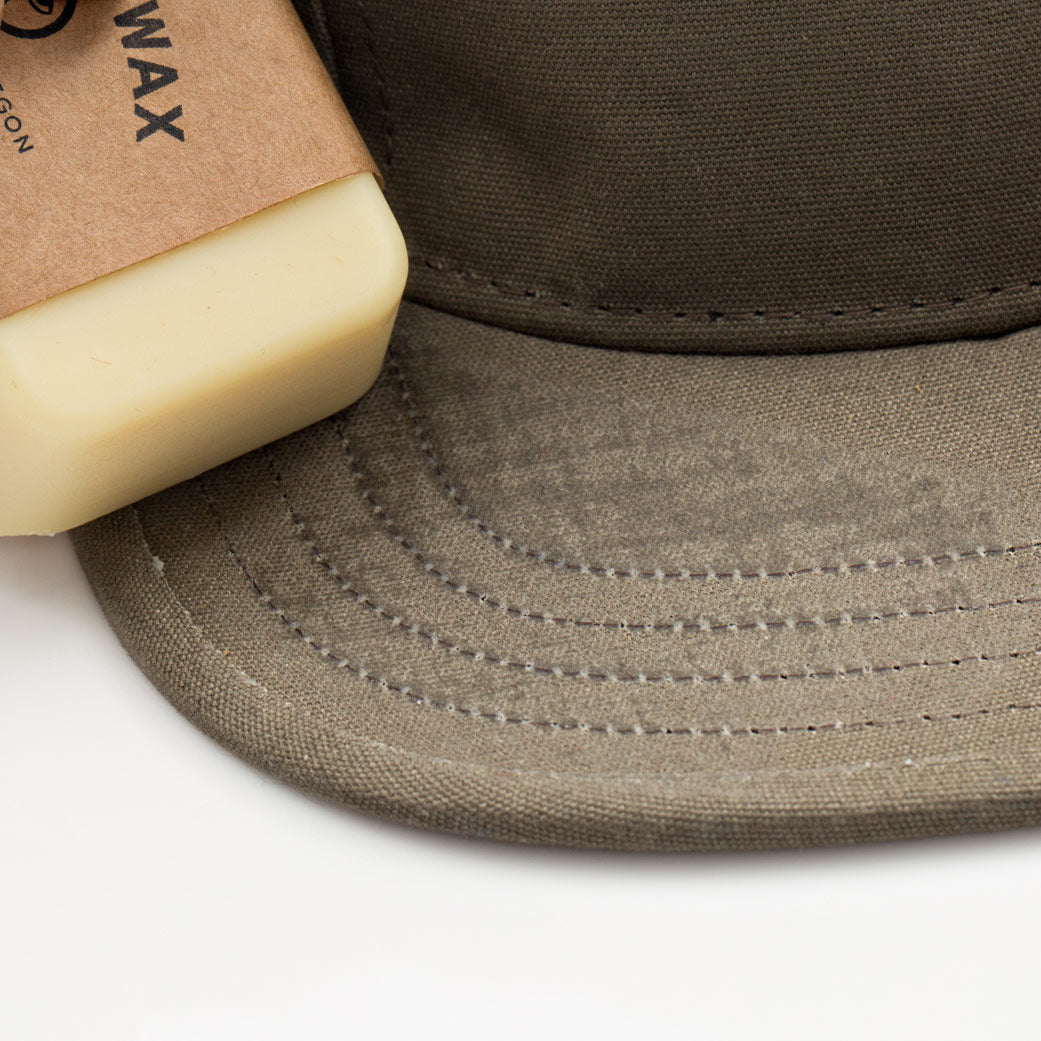 |
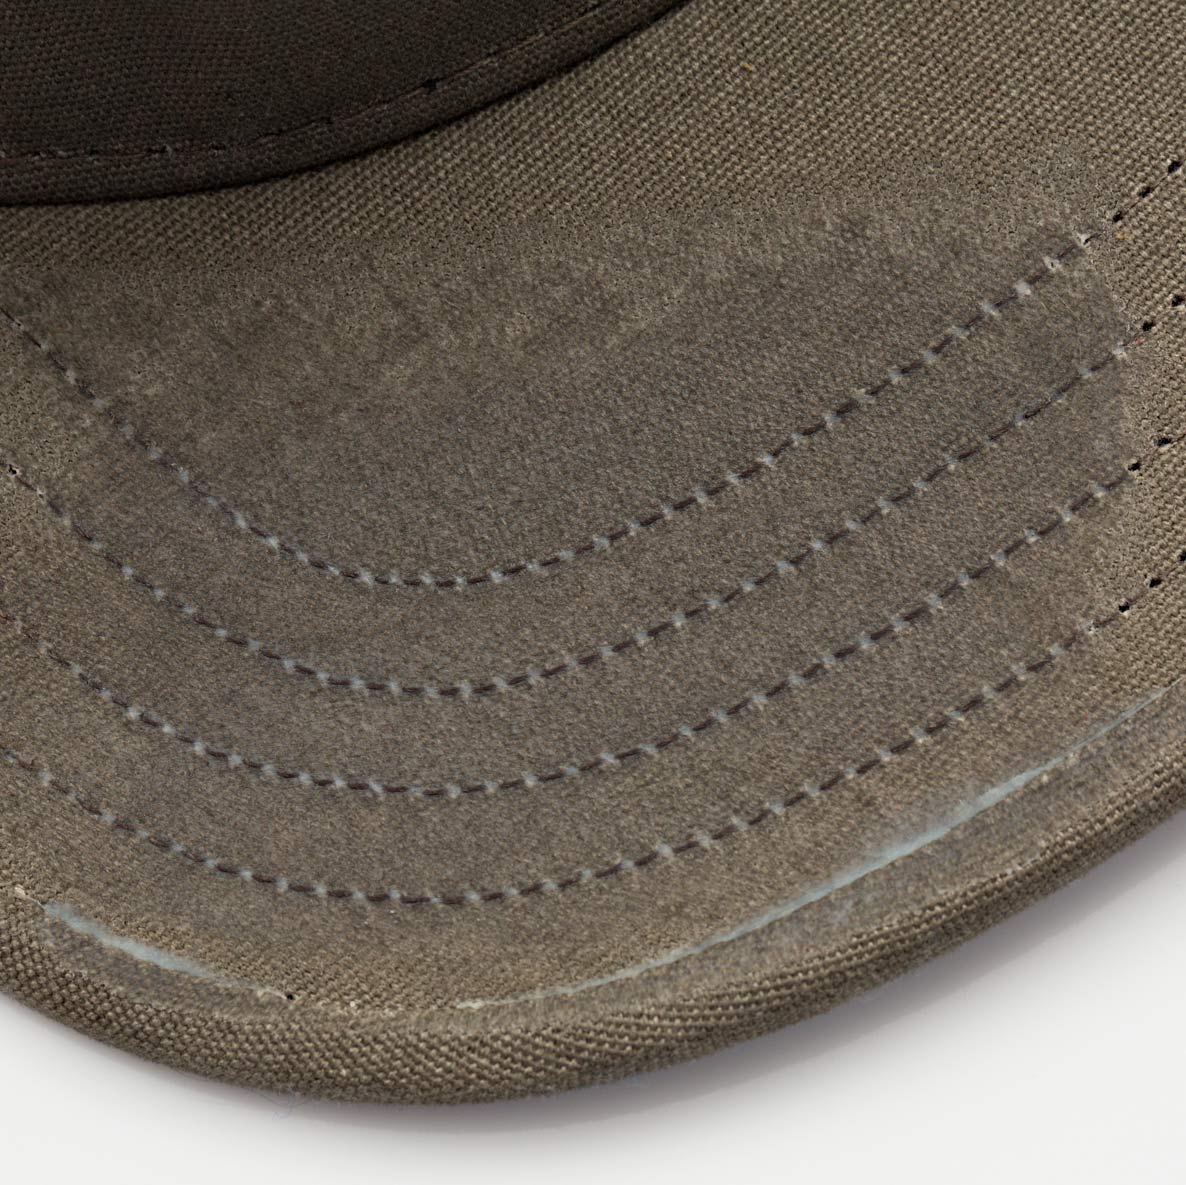
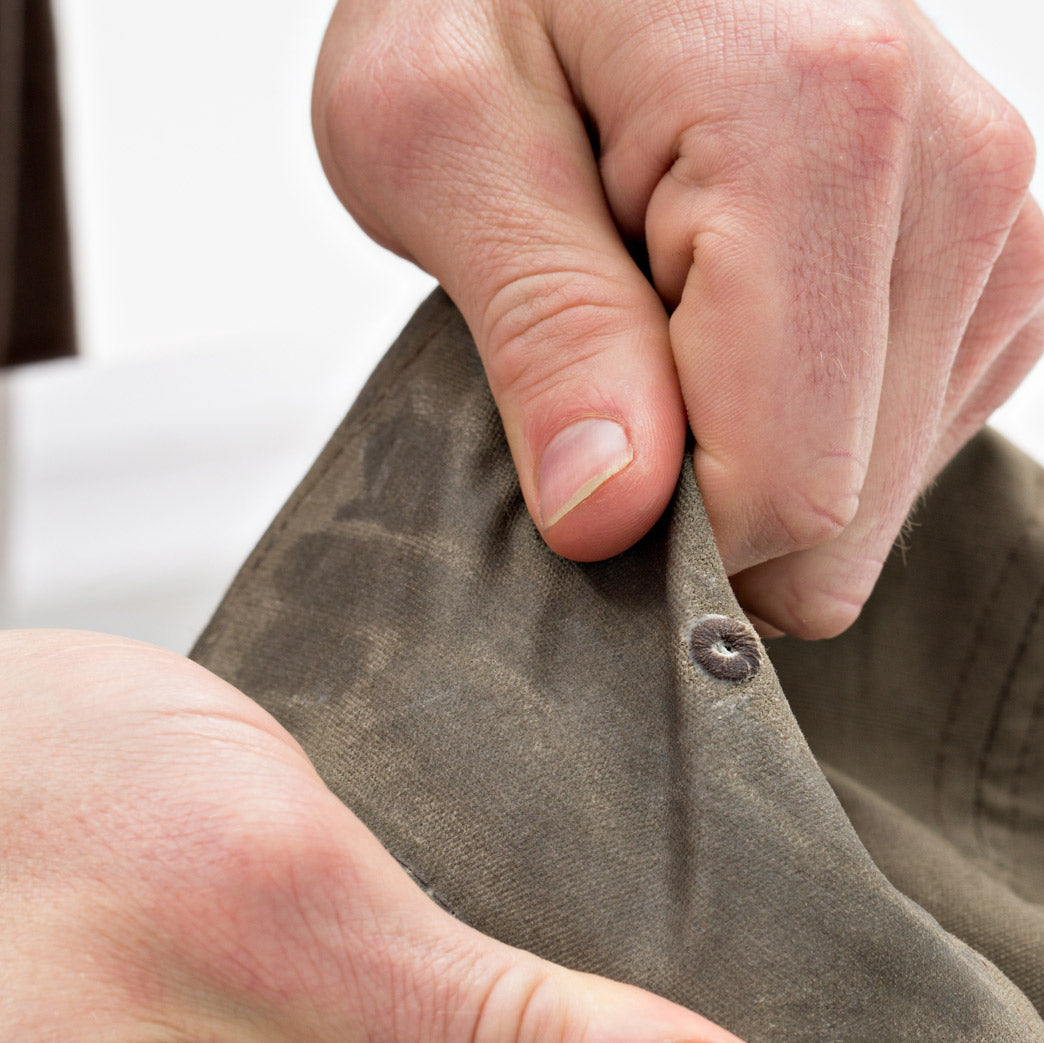
Step 3:This is what the fabric should look like when fully waxed. Note the uniform appearance. You can also see how wax has penetrated into the threading. When the hat gets wet, this is most likely where water will be able to penetrate. Making sure these little needle holes are coated with wax is going to offer great protection and is exactly how you want it to look.At this point, don't worry too much about the wax accumulating in the seams. When you're finished you can just scrape the excess wax out with a toothpick. |
 |
Step 4:As the wax slowly begins to heat up by way of friction, you'll notice that you can start making longer strokes with the bar. Make sure you're using the edges of the bar to get into the creases and other hard to reach areas. |
 |
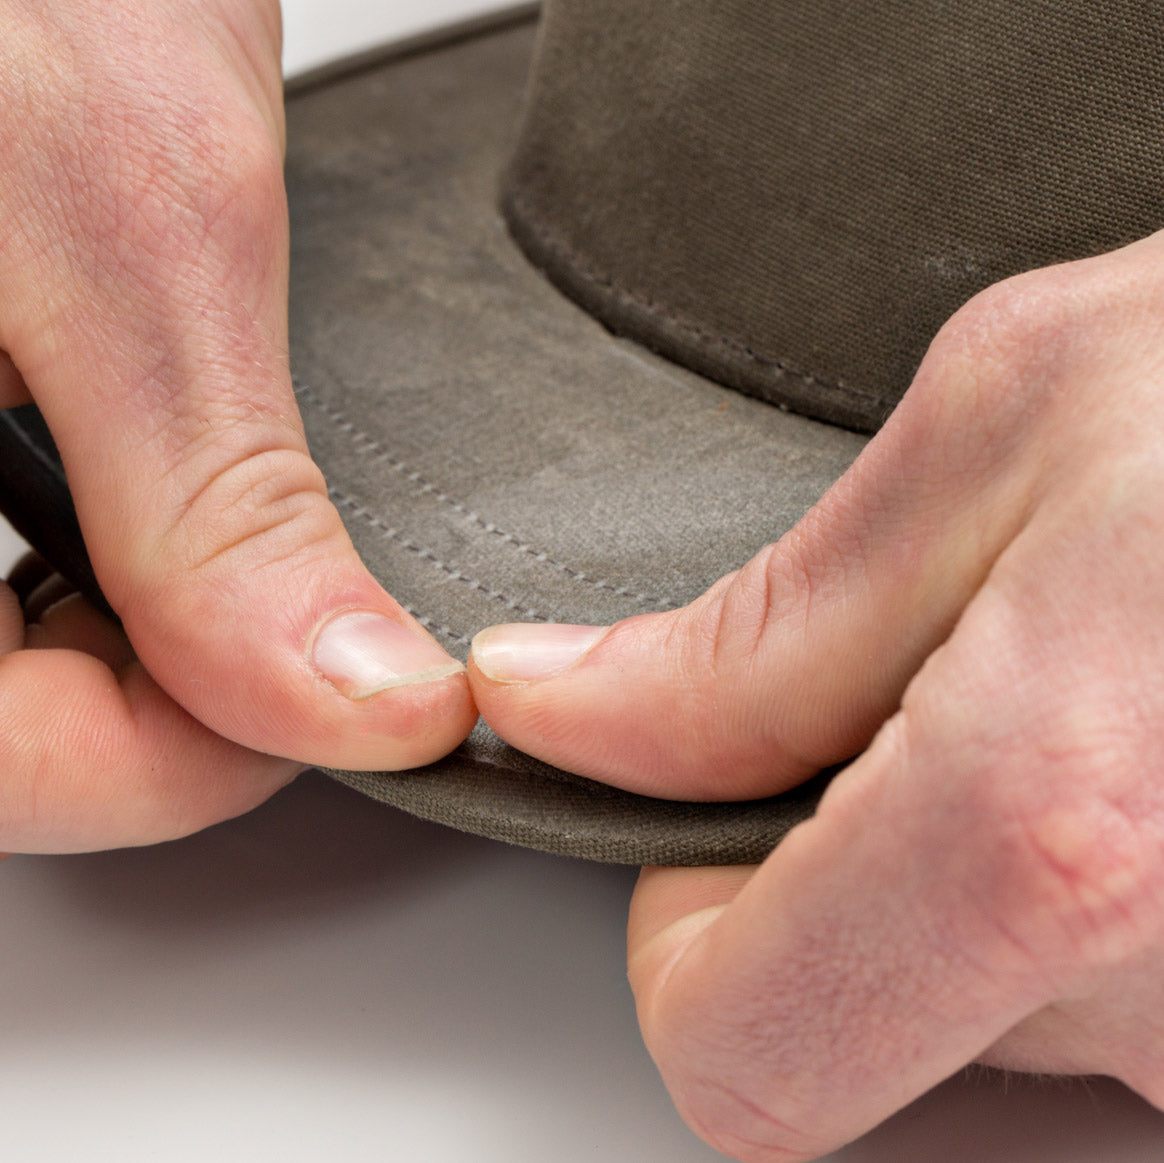
Step 5:Even if you've done this a million times, after the first coat of wax you'll probably notice that there are still some parts where it didn't spread out evenly. Use your fingers to smooth the wax around and really work it into the fabric until everything looks even. |
 |
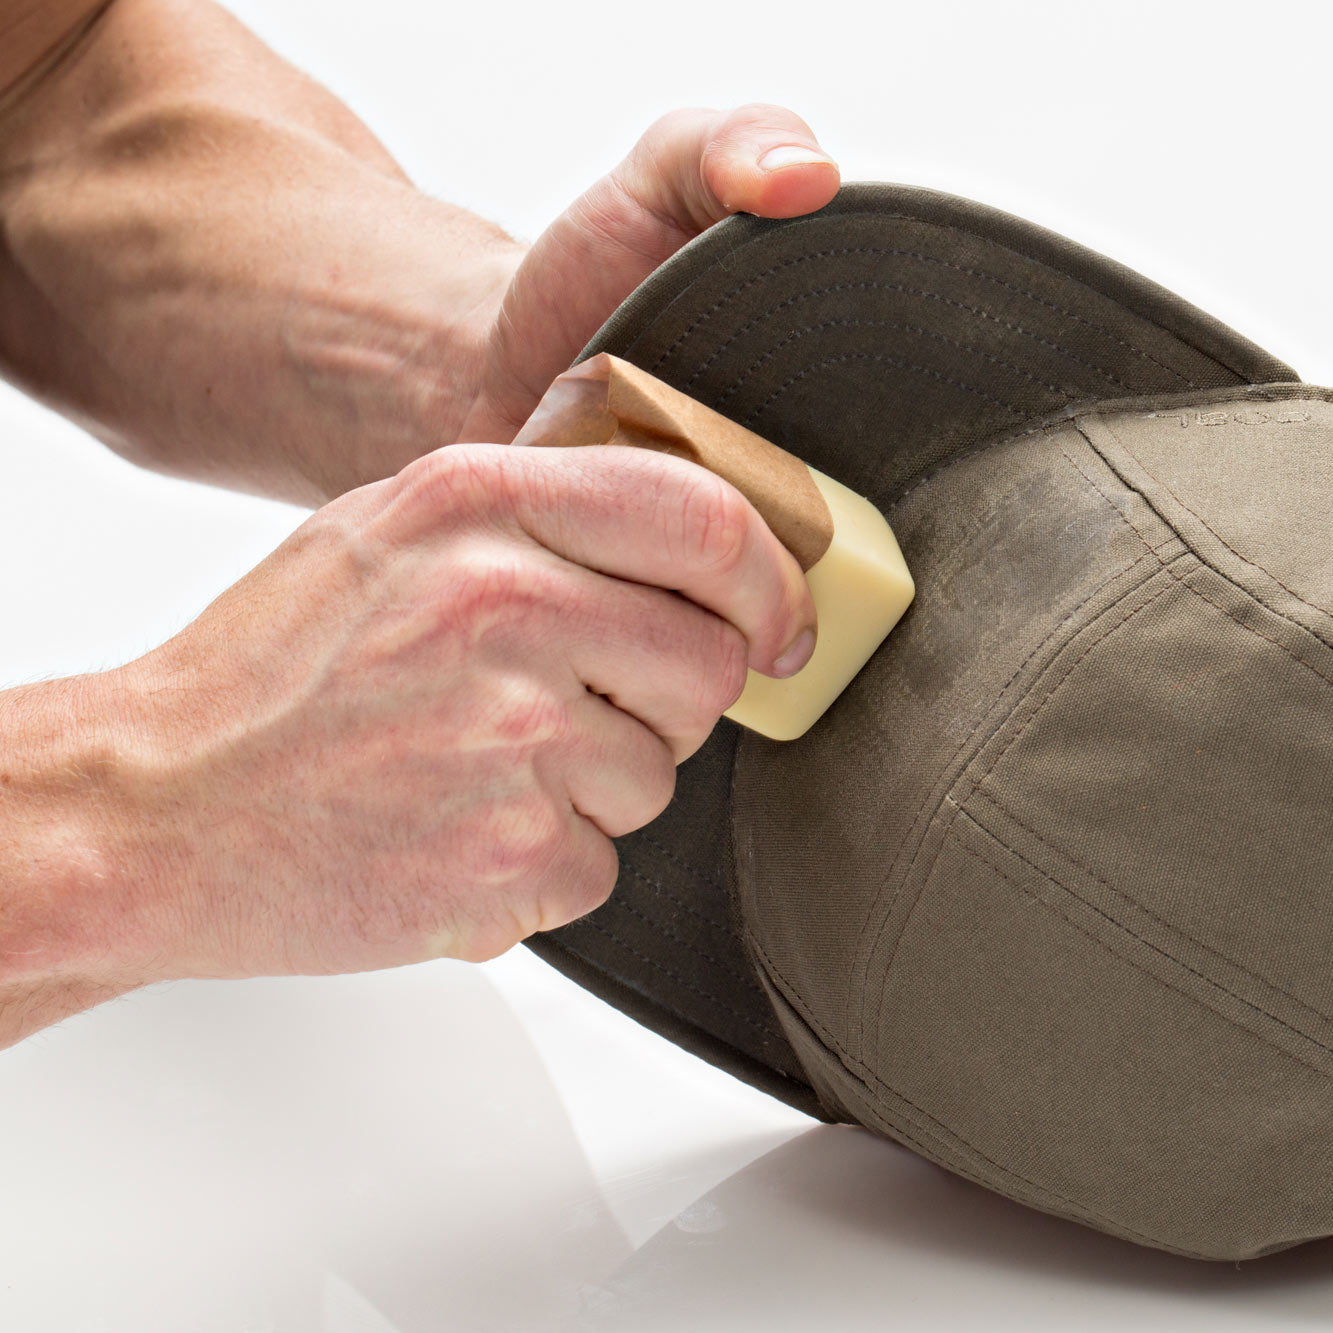
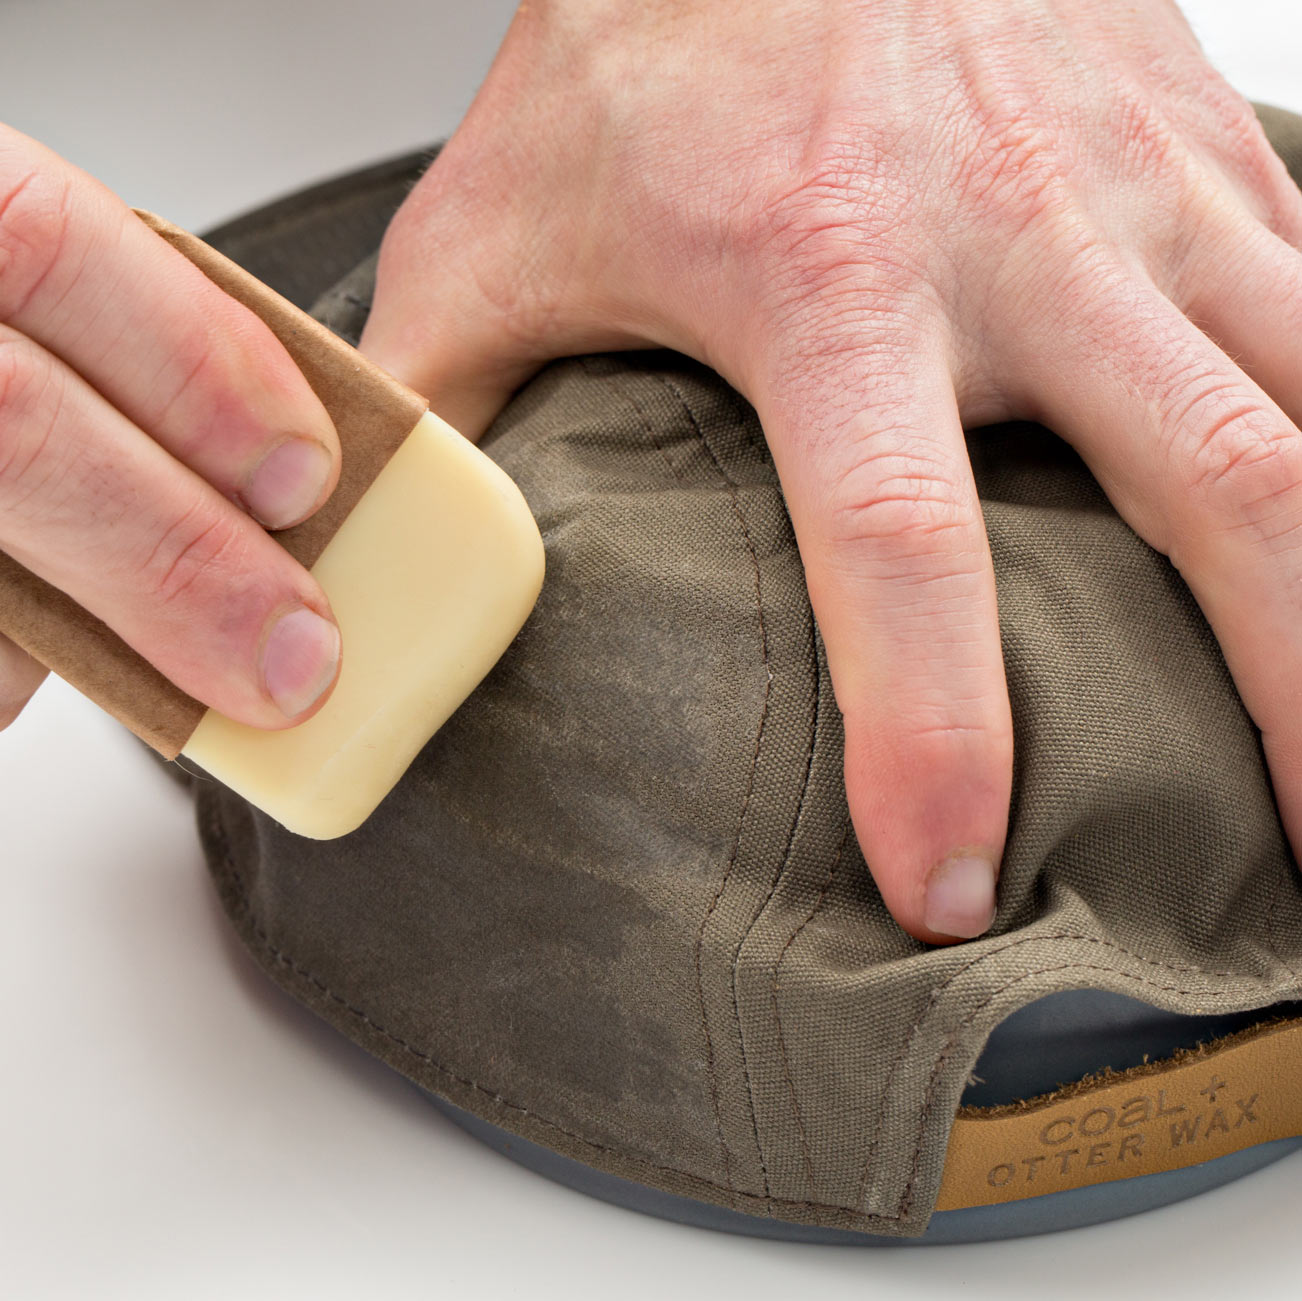
Step 6:Ok, now for the hard part. This hat doesn't have a lot of structure to it, so it's going to be a little difficult to get it flat enough so that you can wax a large area. Start using shorter strokes and just focus on waxing about 2" section. Once that area is fully waxed, move onto the next.In this picture, I'm using one hand on the inside of the hat to hold the fabric taut and create that small waxing surface. |
 |
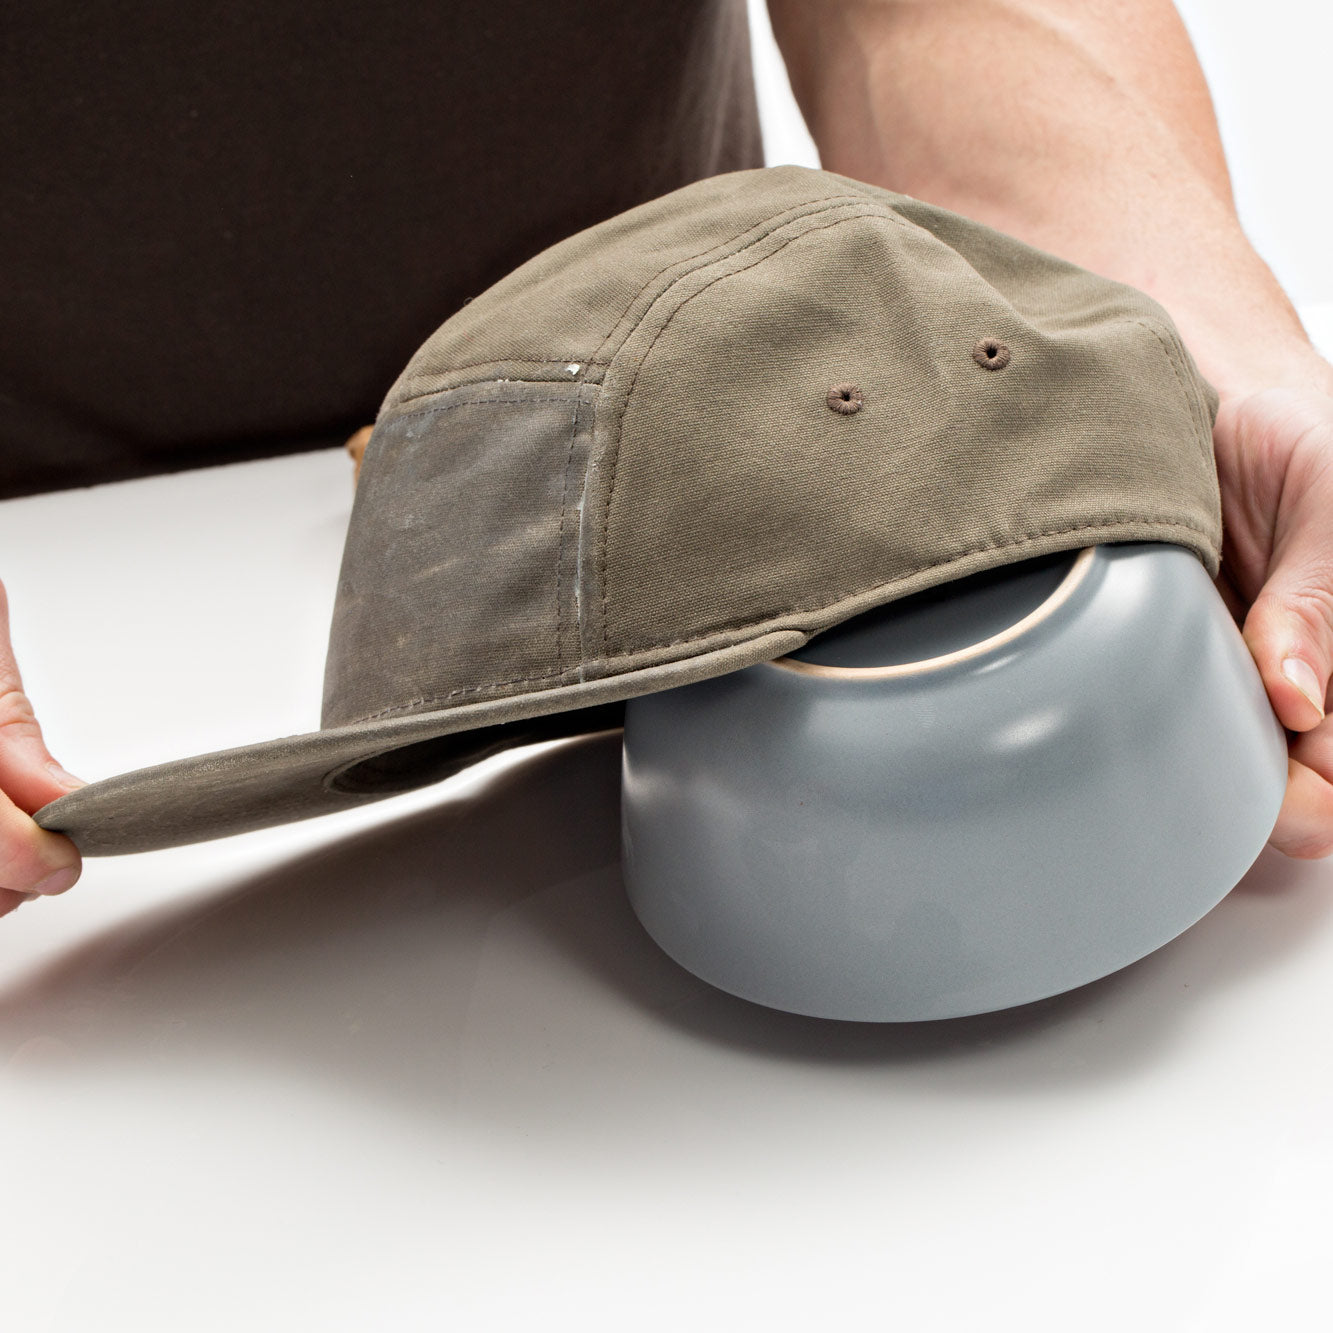
Step 7:Here's a tip to make this process a little easier. Find a smooth bowl that fits snugly inside the hat. This will give you a nice hard surface that will help prevent the wax from bunching up the fabric* when being applied. |
 |
Step 8:Continue working the wax into the fabric one section at a time. Make sure that all of the seams are throughly waxed. Not only will this help to waterproof, but it also helps to protect the thread from fraying over time and will extend the lifespan of the hat. |
 |
Step 9:If the hat starts to slide around the bowl, hold it firmly in place while you complete each section. |
 |
Step 10:This photo shows some of the bunching that was mentioned earlier. This happens primarily when attempting to use long strokes on a lighter-weight fabric without a lot of rigidity. Sometimes this can be fixed by smoothing the wax into the creases with your fingers, and other times you may have to go over these areas with the bar again to make sure the wax creates a uniform seal.When fully waxed, reapply as often as necessary or desired. It's perfectly fine to apply more wax directly onto previously treated fabric. |
 |
 |
 |
Once the hat is fully waxed, you'll probably notice that it still feels slightly tacky to the touch. Of course it is, you just rubbed wax all over it. If this doesn't bother you, you can absolutely wear it immediately, but we typically suggest allowing the wax to "cure" for about 48~72 hours in a warm and dry place to allow the wax to bond with the fibers. This is really a rough estimate on time since there are all sorts of conditions that could lengthen the amount of time it takes for the oils to evaporate off. If it's cold and humid, you can expect it to take a little bit longer to feel dry to the touch.
When it comes to cleaning a waxed hat (or any waxed fabric for that matter), remember that washing or drycleaning is completely out of the question. The agitation from washing and the chemicals from drycleaning will break down all the wax that you just applied. Instead, treat small stains or splotches with a soft bristle brush and some of our Canvas Cleaner. Spot cleaning may still result in losing some wax, but once it's dry you simply reapply some more wax to that spot.
If you start to notice that the inside of your hat smells a little funky or starts to feel a little sticky, all you have to do is spray the inside with Odor Eliminator. Odor and stickiness is caused by bacteria living off the moisture that can't escape. Our Odor Eliminator is comprised of cultures of living enzymes that will actually digest the bad bacteria and eliminate the problem rather than just cover it up with fragrance.
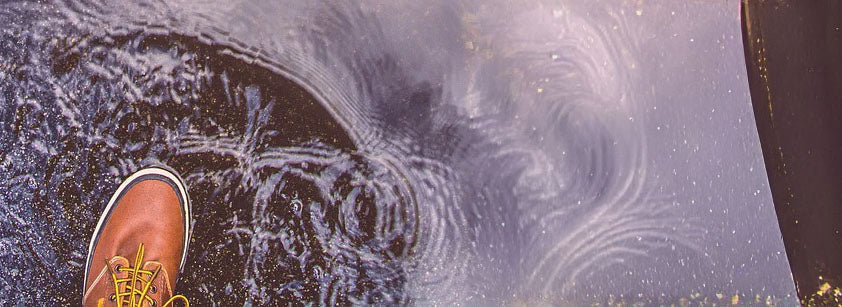
Ready to try it yourself? Just click on the picture below to head over to our shop where you can get yourself a bar and start waxing!
Written by Otter Wax